canberke.com · Guide
UGC IN 5 MINUTES
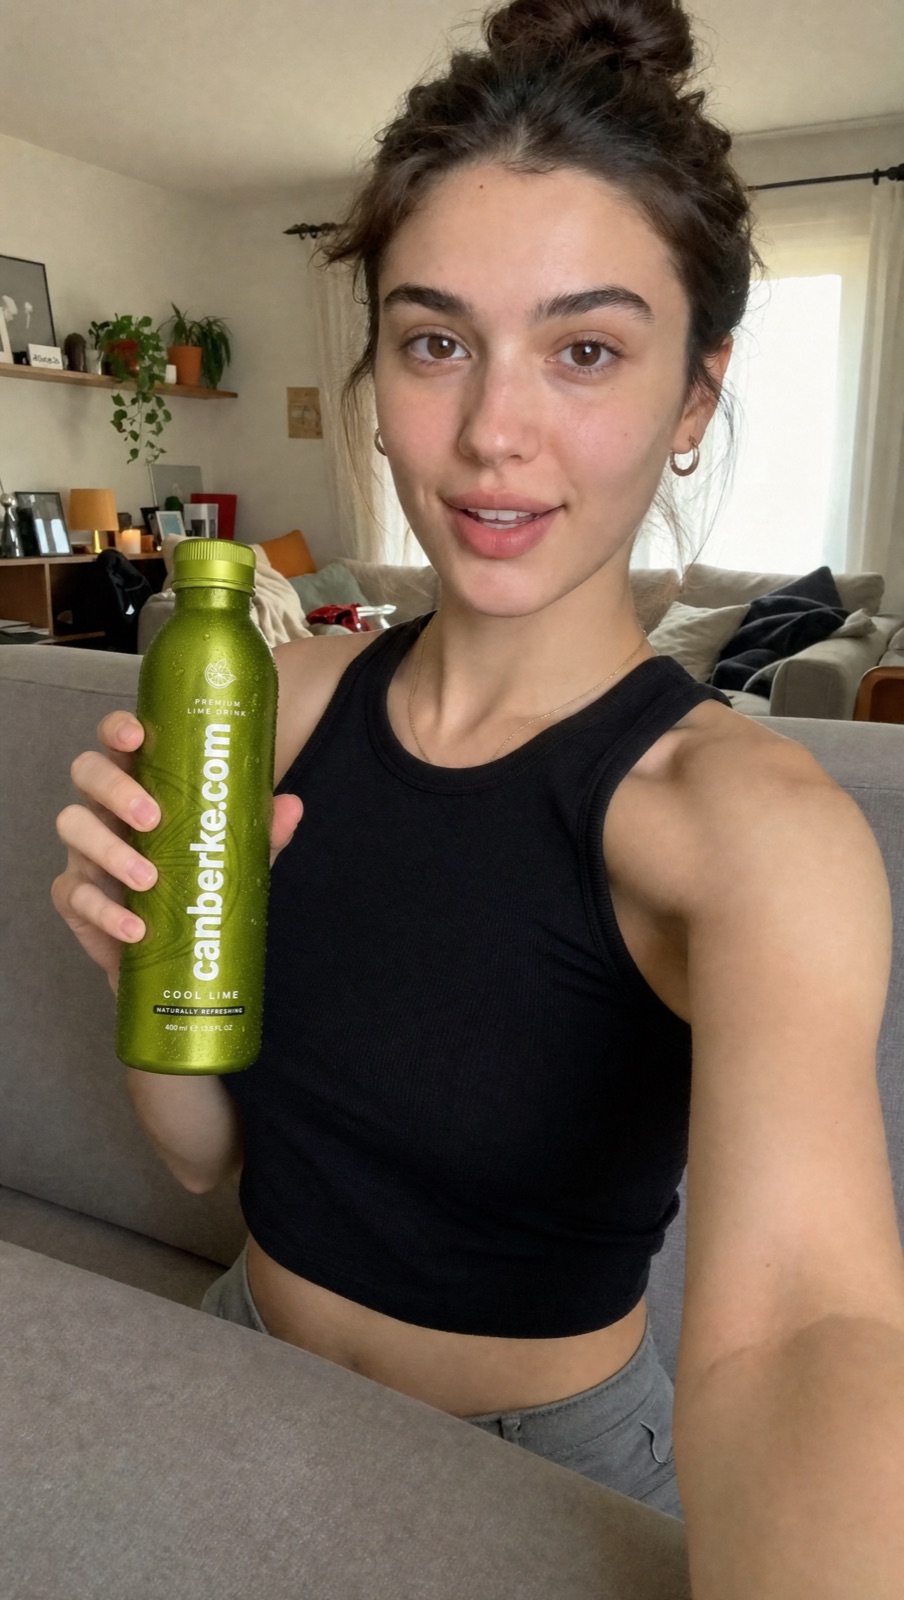
How the UGC product video from the Reel was produced from scratch. Images and video were generated from one panel on Higgsfield (z-image, GPT Image 2, Kling 3.0); the voice-over is ElevenLabs. Every step lists the model I used and a prompt you can copy and adapt. The prompts are in English on purpose — the models answer English better.
This guide is interactive. Change the “Fill in your details” fields below for your own product and every prompt here updates for you instantly instantly. Then copy each prompt with one click.
Fill in your details
Fill this in once and it flows into every prompt below. The highlighted parts are your values.
If you have the product, shoot it front and back on your phone in clean light — that is the most convincing route. If you do not (like me), generate it with AI. The label has to stay readable and sharp.
Generate the person who will hold the product. This is where the realism comes from: without phrases like "iPhone front camera, imperfect skin, cluttered room, mild motion blur" the result looks synthetic immediately. Keep one hand open at chest height so the next step can place the product in it.
the avatar image from step 2 ve and the product image from step 1 as references together. The goal: the same person, product in hand, label turned to camera and readable. Saying "keep the same person and room, change only the hand" is what holds it consistent.
Upload the image from step 3 as the start frame. This is where the "not AI" feeling is won or lost: keeping the light, the label and the grip consistent frame by frame. The "NO morphing, label stays sharp" line reduces the drift.
Generate the video silent and lay the Turkish voice on separately. The reason: video models are unreliable at Turkish lip-sync. Voice the script in ElevenLabs, add it to the video, and match the lips with a dubbing/lip-sync tool if you want.
When it falls apart: This workflow works very well for product shots and short UGC. It can still give itself away on a face talking to camera for a long stretch, or on complex hand movements. There, let the voice, the pacing and the edit carry it. The last step is always your edit: captions, rhythm and colour.
I made this guide for free. If you get stuck, message me on Instagram. — canberke.com